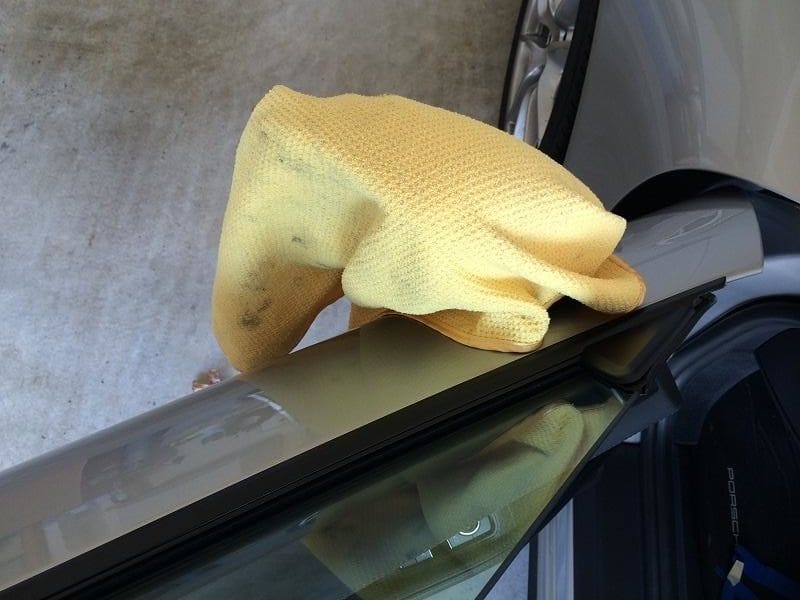
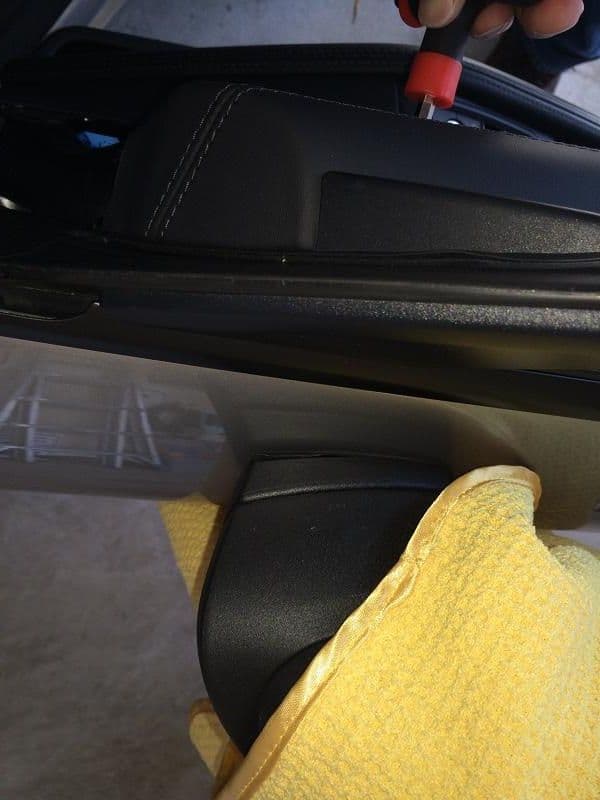
Recently was asked (within another DIY posting) if there were any guides to removing the diffuser trim pieces from the lower rear of the 991 rear bumper cover.... So I am providing the following DIY guide for those that want to remove the trim parts -- which by default come in matte black plastic from the factory -- for painting, replacement/repair, or to have them custom-painted.
Note that there is an official PCNA Work Manual (WM) for this (WM 636819) procedure, and my guide (along with all illustrations) is based on the instructions provided by that document.
The Porsche official term for the part we are referring to as the diffuser is "rear skirt." Here is an illustration of the part location:
Rear Diffuser location highlighted in dark blue
There are officially (ie WM 636819) three steps involved:
1) Remove both R and L "Tailpipe Shield Covers";
2) Remove bottom "retaining strip";
3) and, Remove "Rear Skirt".
In the WM the precondition is to remove the entire rear apron (or "bumper cover") but it isn't 100% necessary to do so.... I've seen 991 forum member posts where removal of the "diffuser" happened with the apron still on the car. YMMV.
STEP 1: Use a flat-head screwdriver or trim tool to release the shield cover by working around the perimeter of the part - I believe there are 5 tabs. You should be able to just pry and pull to release.
STEP 2:In the second case, and I think personally this is something others have been able to avoid -- there are at least (2) maybe more rivets that the official WM indicates should be "drilled-out" -- meaning they must be replaced if you are reusing the rear skirt parts.
STEP 3: Remove the rear skirt by pulling hard while using a screwdriver / pry tool to release the 14 or so tabs that run along the length of the trim piece.
Installation is opposite of the steps outlined here.
I've had the mirrors on my GT Silver 2014 991 C4S sprayed in Plastidip Matte Black for the past year or so. Decided to remove the 'dip as I am preparing for other projects. To remove the dip I wanted to remove the mirrors entirely from the doors. Thought I'd show you the process of removing the mirrors from the doors. Might be useful for anyone wanting to send their mirrors out for painting, or wrapping, as well as for those who might want to swap their mirrors for another set....
Couple of things to note.... I have the standard 991 mirrors. I do NOT have the power folding, Sport Design, or "GT3" mirrors. However, I believe in any case the procedure to remove the mirror from the door is the same -- remove trim, a single bolt, and pull the wiring harness through the door.
Also, when I bought the car, the dealer had already installed xPEL PPF, and there are small pieces on the mirrors. When I sprayed with Plastidip, I just sprayed right over the film. So, I really wasn't sure if the 'dip was going to bond or "merge" and stain the clear film. But actually what I found is that the 'dip spray peeled-off more easily from where the film was than where it was not! As you can see in the video I shot, the 'dip peels off real easily from the mirrors. Each mirror took me about 30 minutes to peel and clean-up. Where I had difficulty peeling, I simply brushed on some Xylene and wiped the 'dip off! Very easy!
I continue to be impressed by the durability and versatility of Plastidip! It is amazing stuff. My car is no garage queen, so seeing first-hand how it protects the car I am a true believer!
Here's the video posted up on my YouTube Channel - GTSilver.... Please subscribe for more!
Following is a DIY on how to remove the exterior side mirrors from the 991 doors. In my case I have a '14 991 C4S with standard mirrors (NOT Sport Design/GT3 style). I also don't have the power folding option. Not sure how much different the removal steps would be other than perhaps additional wires in the harness...
As I started this project, I was amazed at just how easy it is to get to the single bolt holding the mirror to the door!
Tools required:
Torx T-40 with long / extension bar
Interior Panel Tools
SAFETY: You shouldn't have anything to worry about with this little DIY, but CYA you can disconnect the negative (-) terminal connection on your battery to be sure that the side door airbag doesn't trigger.... This is a very very remote possibility in this case -- I would be more concerned with this if I were removing the entire door panel! SHORTCUT: If you would rather see someone doing the DIY, rather than describing it, check out my YouTube video:
You may also want to put down some towels, other bits to protect any surfaces you are worried about. As always, just take your time, don't force anything (unnecessarily!), and you shouldn't have any worries.
SORRY for the shadows and some blurry pics! car was partially in the sun in my garage, and I was holding my iPhone with one hand....
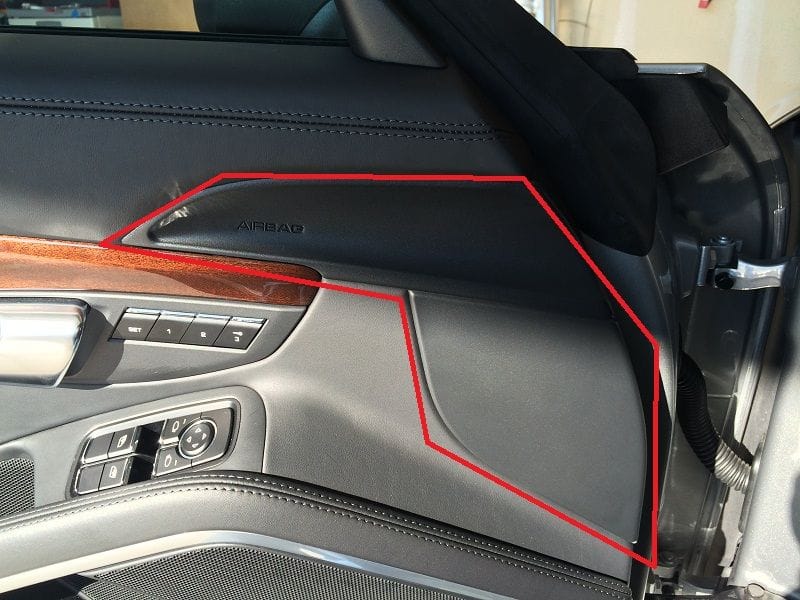
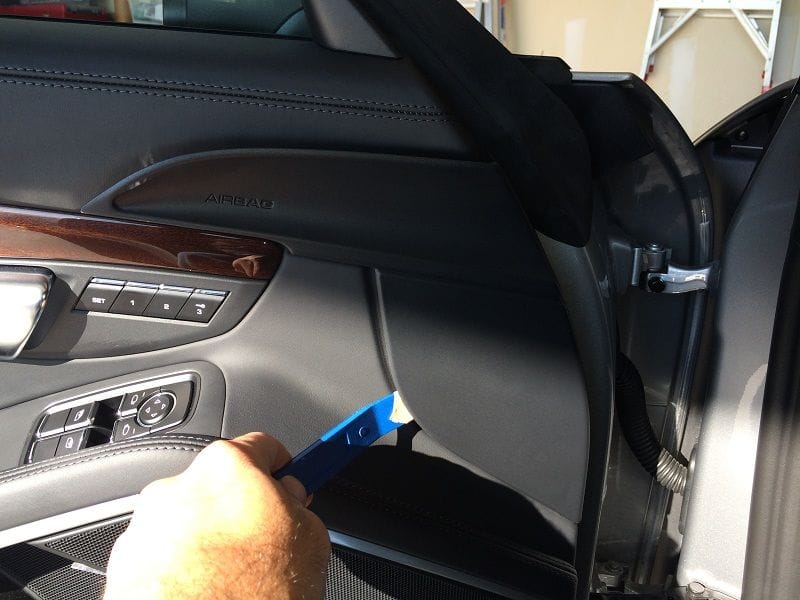
Step 1: Open the door. At the front edge, there are what appear to be two plastic panels - they are actually one large panel - where you see "Airbag". In this pic I've indicated the panel.
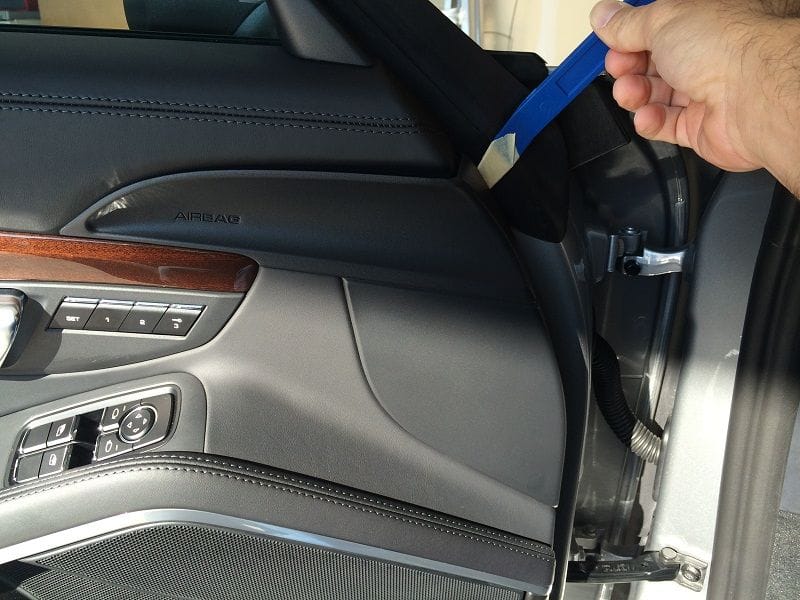
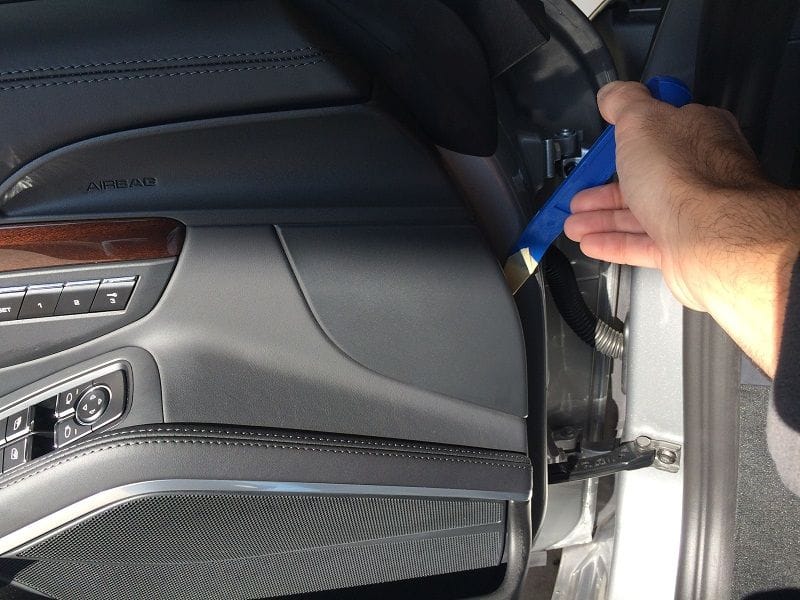
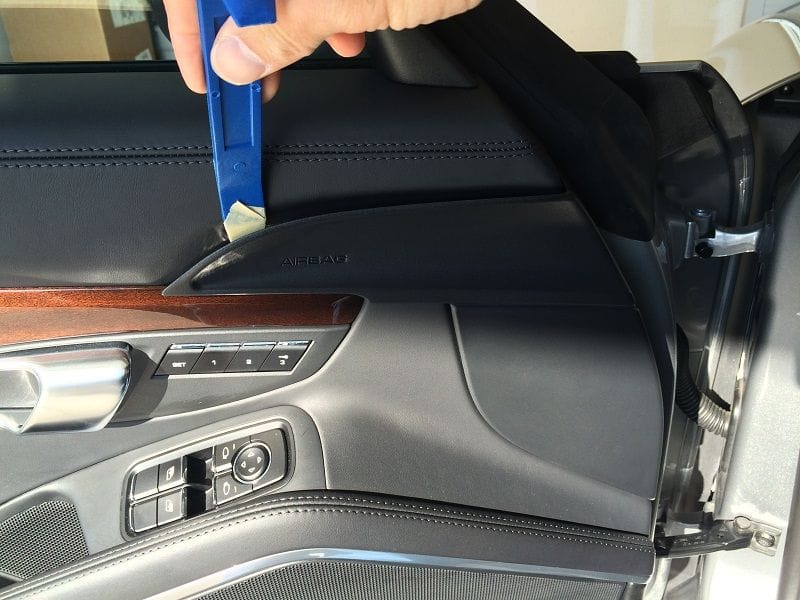
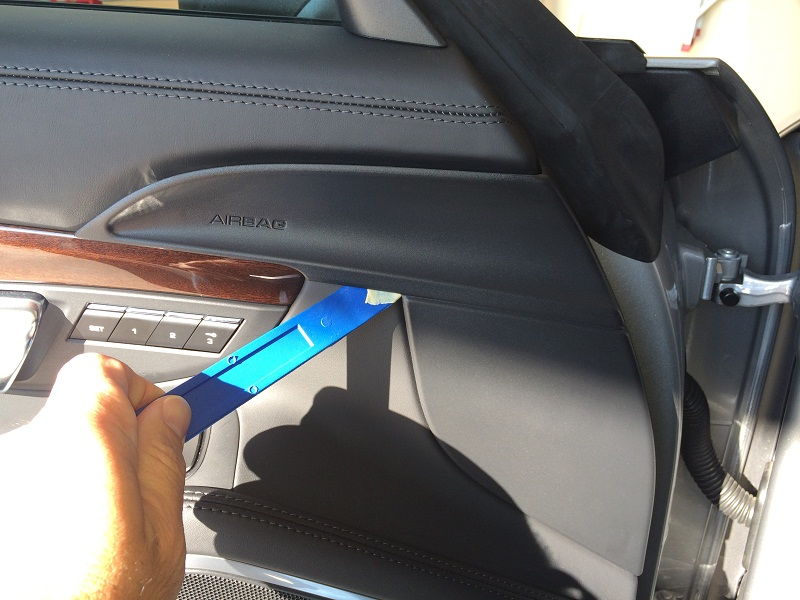
Step 2: Remove the Plastic Panel. Get one of your panel tools -- you could probably do this with your hands only, but I found the tools to be a safe way to go. Start where you see in the picture below, slide your tool edge under the plastic edge where it meets the metal of the door frame, and pry it up from the door. It should "pop" free just a bit.
Now follow the pictures in order below to gently pop-free all of the connecting tabs under the panel....
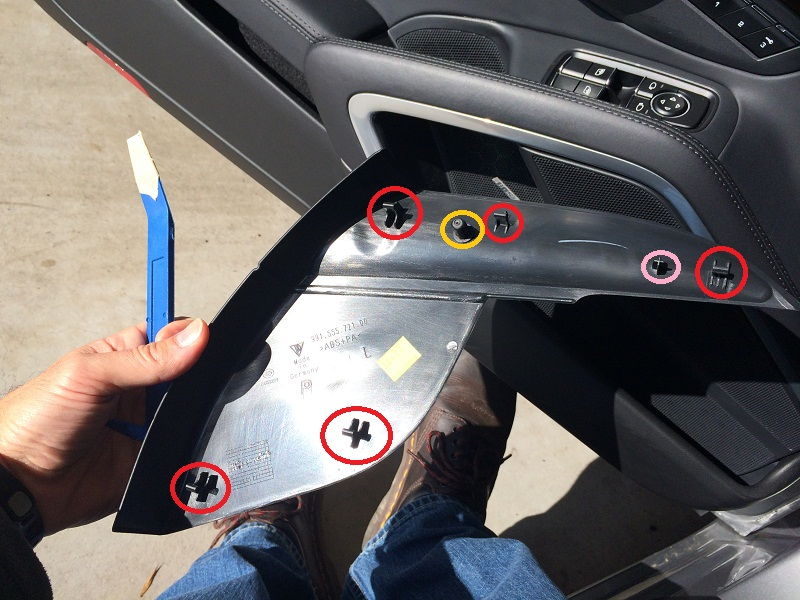
When you get to the last spot around the panel edge, it should just pop-off in your hand. Here is a shot of the rear of the panel, indicating the connecting tabs (red circles).
I've also indicated two pins on the rear, in Orange and Pink (what the heck?) circles. These two pins are a bit different, and one has a rubber cover over it that you don't want to lose, or worse, drop in behind the door panel!
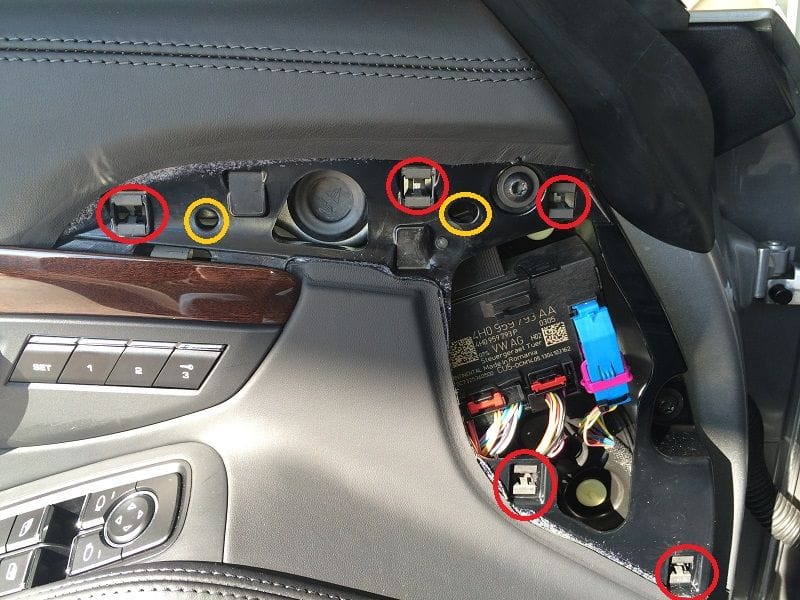
Step 3: Expose Bolt. Now that you have the plastic trim panel removed, look at the door. In the pic below I've first indicated where all the tabs and two pins on the trim piece attach to the door panel...
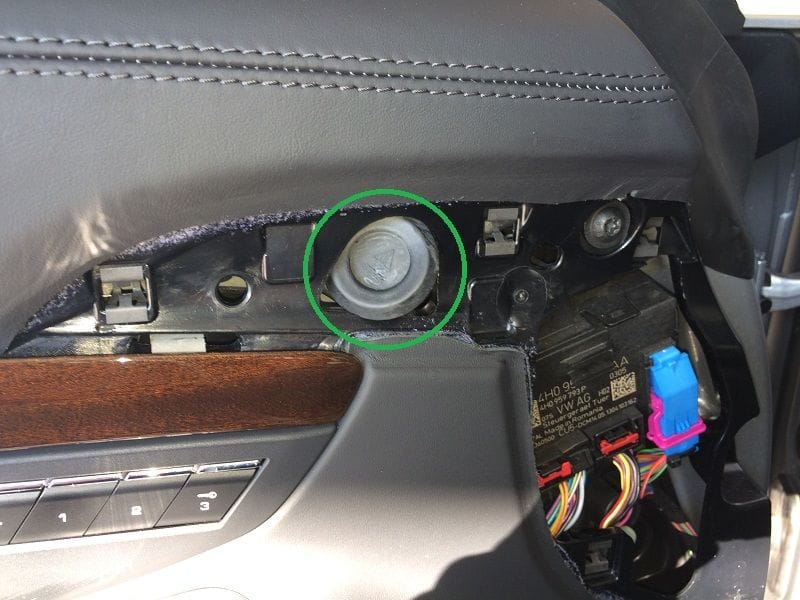
In the center, indicated in this pic, you should see a black rubber plug... circled in green.
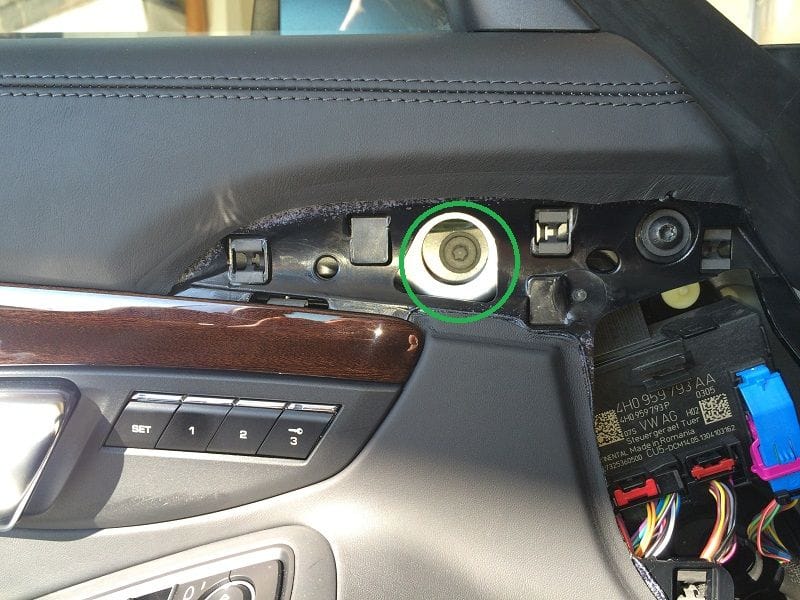
Directly beneath this plug is the bolt holding the mirror to the door. You want to gently pry the plug up and out of the hole. You can use a thin trim tool or something handy to get one edge up, then just pull it out with your fingers. Don't lose this!
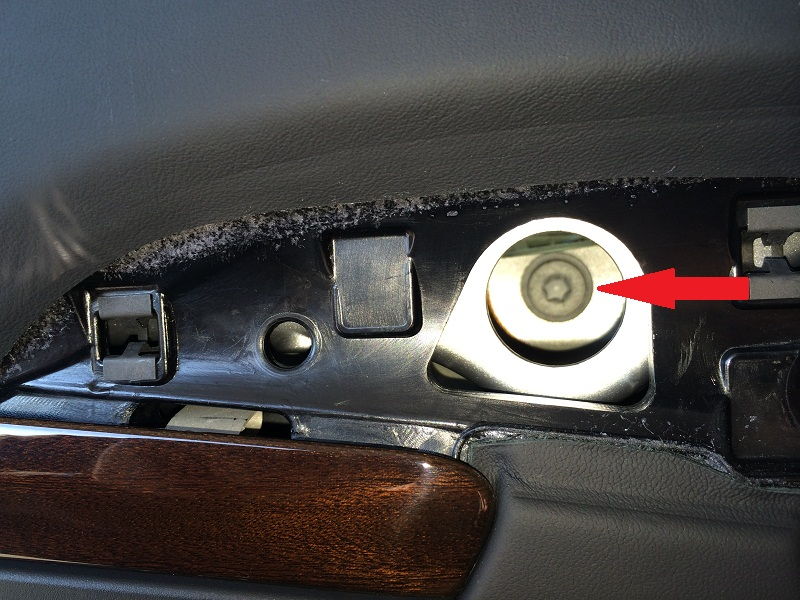
You should now see the opening through which you access the bolt.
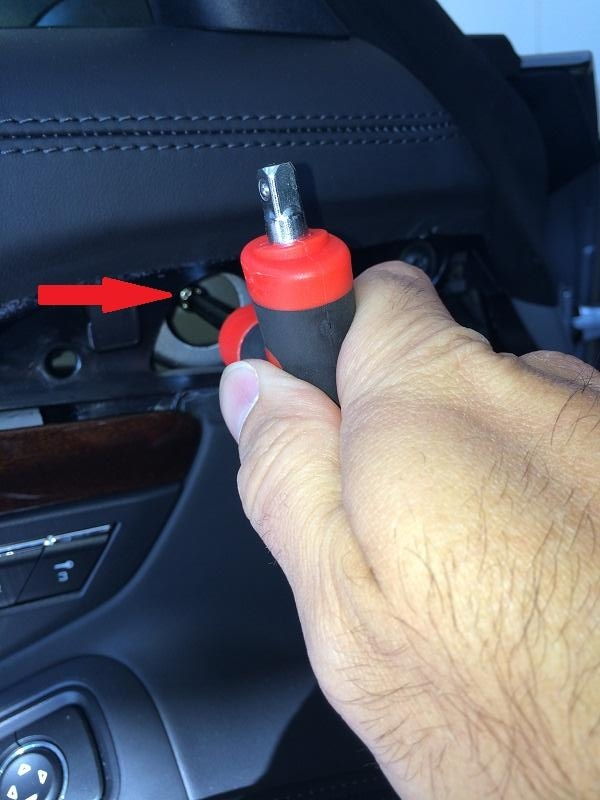
Step 4: Remove the retaining bolt. The bolt is a T-40. You will need an extension of at least 4" or a long handle to reach the bolt. Make sure if you are using a T bit that it is securely held in place in your tool, as you definitely don't want to have it fall out and down into the door! That would suck!
Before you get the bolt too loose, make sure to put something down on the side of the car to protect the mirror from falling and hitting the side of the car!
I found the bolt to be VERY tight. I didn't need a breaker-bar or anything, but took some muscle to loosen. But once I did, the mirror starts releasing from the door as you loosen the bolt.
I stopped there. Didn't have time to go any further and take the mirror completely off. I will do that later tonight and post some pics as an edit to this post.
Cheers!
Update: Some additional details regarding disconnecting the wiring harness so that you can fully remove the mirror from the car...
There is a wiring harness connector that has to be released from the control module that you have to pull out of door when you pull the mirror away from the door surface. To release the connector, you will have to return to the interior area just below the Airbag trim piece removed previously.
In the following picture, locate the mirror wiring connector in the black control module, just to the left (or right, depending on the door you are facing) of the blue connector -- I've indicated by circling to make it easier....
First, release the electrical connection. Before you go any further, get a piece of cord, shoelace or similar, and tie one end to the connector that you just released. You will want this for later, when you need to re-install.
Now, Locate the rubber boot where the wire harness goes through to the outer door shell. In the pic above I've indicated with red arrows the wire bundle and the rubber boot. You will have to push it through towards the exterior section of the door, while pulling the mirror up and off the body. Once you have the mirror far enough out, you can disconnect the wire connector from the cord and leave the cord hanging from the door exterior hole.
The cord will be helpful when you re-install and have to route the wire connector back into the interior door panel. You should be able to simply tie the end onto the connector and pull it through. Sorry I don't have a picture of this.
To show you what a mirror looks like when completely removed, I found the following on one of the 991 forums 'for sale' sections. I've circled the rubber boot and electrical connector for your reference.